kelley@u-kitchenwares.com
+86-15819924651
+86-0750-3719388

A stainless steel fry pan is one of the most durable and versatile tools in any kitchen, loved for its ability to cook food evenly and last for years when properly maintained. However, without the right cleaning techniques, even high-quality stainless steel can lose its shine or develop stubborn stains and discoloration over time. Knowing how to clean and care for your fry pan correctly is the key to keeping it in pristine condition and ensuring long-lasting performance.
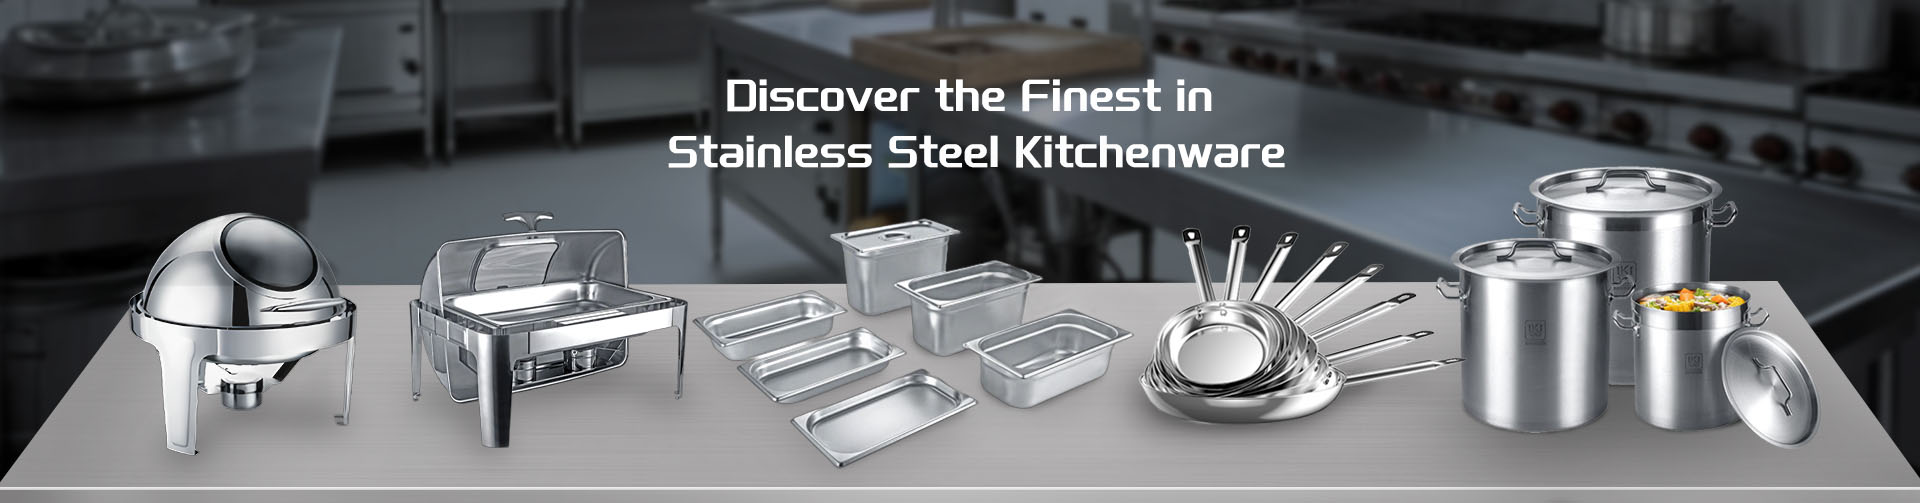
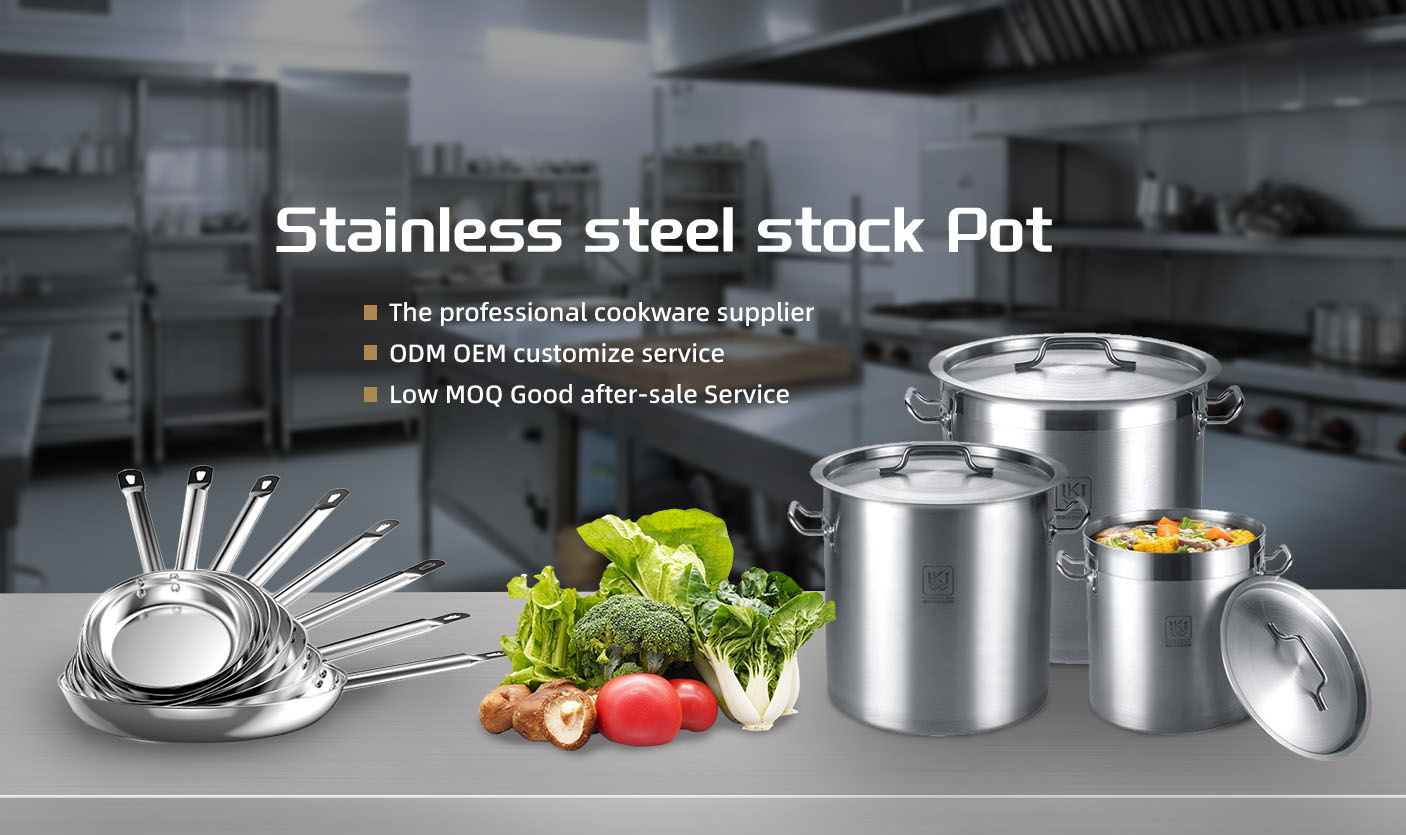
Our stainless steel fry pans are designed with heavy-duty multi-layer bases, ergonomic handles, and mirror-polished finishes, making them easy to clean and resistant to corrosion. This guide explains the best cleaning methods, tips for dealing with tough residue, and maintenance steps to preserve the pan’s beauty and functionality.

Unlike nonstick or coated cookware, stainless steel doesn’t have a chemical surface layer that prevents sticking. Instead, it relies on natural seasoning and temperature control. When food residue, grease, or burnt oil accumulates, it can cause dullness or discoloration. Regular cleaning keeps the surface smooth and ensures consistent heat transfer during cooking.
A well-designed fry pan—like our professional stainless steel series—is made to endure high heat and frequent cleaning without warping or losing its finish.
| Feature | Description | Benefit |
|---|---|---|
| Material | 18/8 or 18/10 stainless steel | Resists corrosion and maintains shine |
| Base Design | Multi-layer bonded core (stainless + aluminum) | Promotes even heat distribution |
| Handle Type | Riveted stainless steel | Ensures durability and safe handling |
| Surface Finish | Mirror-polished | Easy to clean and resistant to stains |
| Compatibility | Induction, gas, and electric cooktops | Versatile and long-lasting |
By understanding the material’s structure, you can tailor cleaning techniques that maintain its smooth finish and reflective surface.
Keeping your stainless steel fry pan clean after each use is the easiest way to extend its life. Simple maintenance prevents buildup and protects the metal’s integrity.
Follow this straightforward process for daily cleaning:
Cool Down First:
Allow the pan to cool to room temperature before washing. Sudden temperature changes—like immersing a hot pan in cold water—can cause warping.
Rinse With Warm Water:
Remove loose food particles under warm running water to prevent scratching during scrubbing.
Use Mild Dish Soap:
Add a few drops of gentle detergent and scrub with a soft sponge or nylon brush. Avoid steel wool or metal pads, which can damage the surface.
Clean the Rim and Handle:
Residue often accumulates around rivets and handles. Use a soft brush or small cleaning cloth to reach tight spots.
Rinse and Dry Thoroughly:
Rinse with clean water and immediately dry the pan using a microfiber cloth to prevent water stains.
| Step | Tool | Tip |
|---|---|---|
| Cool Down | Wait 3–5 minutes | Avoid thermal shock |
| Soap Wash | Soft sponge | Gentle circular motion |
| Rinse | Warm water | Remove all detergent |
| Dry | Microfiber cloth | Prevent water spots |
For minor marks or fingerprints:
Apply a small amount of baking soda paste (1 tbsp baking soda + few drops of water) to the affected area.
Rub gently in the direction of the steel’s grain using a soft cloth.
Rinse thoroughly and polish dry.
This restores the mirror finish without scratching the metal.
Sometimes, tough stains or burnt-on food may cling to the surface—especially when cooking at high temperatures. Proper deep cleaning can restore the pan’s shine and cooking efficiency.
Soak the Pan:
Fill it with hot water and a few drops of dish soap. Let it soak for at least 30 minutes or overnight if heavily burnt.
Simmer With Water:
For stubborn residue, fill the pan halfway with water, bring it to a boil, and let it simmer for 10 minutes. This loosens the burnt food particles.
Scrub Gently:
Once cooled, scrub with a nylon pad or soft sponge. Avoid using harsh abrasives.
For Extra Tough Spots:
Sprinkle baking soda directly onto the damp surface and scrub lightly in circular motions.
| Issue | Solution | Expected Result |
|---|---|---|
| Light burnt marks | Hot water soak + sponge | Removes residue easily |
| Heavy burnt food | Boiling method + baking soda | Lifts tough layers |
| Sticky oil film | Vinegar + warm water mixture | Dissolves greasy buildup |
Rainbow-like discoloration, often caused by overheating, is harmless but visually unappealing.
To fix it:
Mix 1 part white vinegar with 3 parts water, pour it into the pan, and bring it to a gentle boil.
Let it cool, then wash with mild soap and rinse thoroughly.
Dry immediately to restore its original shine.
Water spots form when minerals dry on the surface. To remove:
Rub the surface with a vinegar-soaked cloth, then rinse and polish dry.
For cloudy films, use lemon juice or a stainless steel cleaner to restore clarity.
Finish with a stainless steel polish or a mix of baking soda and water paste. Rub in the direction of the grain for a streak-free shine. Always avoid bleach or chlorine-based cleaners—they can corrode stainless steel.
Proper care is just as important as cleaning. These practices help keep your stainless steel fry pan in excellent condition and ensure consistent performance for years.
Even though stainless steel isn’t nonstick, you can minimize food sticking by following these steps:
Preheat Gradually: Heat the pan for 1–2 minutes on medium before adding oil.
Add Oil Before Food: Let the oil heat slightly until shimmering, then add ingredients.
Avoid Overcrowding: Give food space to sear properly and release naturally.
Do not use metal utensils that can scratch the interior surface.
Refrain from using harsh cleaning powders or scouring pads.
Always allow the pan to cool before washing to prevent deformation.
Store it in a dry area, stacking gently with paper or cloth layers between pans.
To maintain that signature shine:
Polish occasionally with a microfiber cloth and stainless steel cream.
Wipe away smudges immediately after use to avoid residue buildup.
Use gentle circular motions following the metal’s grain direction.
| Practice | Benefit |
|---|---|
| Gradual preheating | Reduces sticking and improves heat balance |
| Immediate drying | Prevents rust and water stains |
| Non-abrasive cleaning | Protects mirror finish |
| Regular polishing | Keeps a glossy, professional look |
| Proper storage | Avoids scratches from stacking |
For commercial kitchens or heavily used cookware:
Combine 1 cup of vinegar, 1 tbsp baking soda, and 2 cups of warm water.
Soak for 15 minutes, then scrub gently.
Rinse thoroughly and dry for a spotless finish.
This method removes accumulated oil layers without affecting the steel’s surface integrity.
Cleaning a stainless steel fry pan is not difficult when done with care and the right approach. From gentle daily washing to occasional deep cleaning, proper maintenance keeps your pan looking brand new and performing efficiently.
Our premium stainless steel fry pans are built to resist corrosion, heat damage, and discoloration, allowing you to enjoy professional cooking performance every day. With a little attention—using mild detergents, non-abrasive tools, and quick drying—you can ensure your pan remains a reliable partner in the kitchen for years to come.
When cared for properly, stainless steel not only shines brilliantly but also enhances cooking precision, giving you the best combination of durability, performance, and timeless elegance in every meal.
Previous: What Is The Best Fry Pan
Next: What Is A Sauce Pot